Super users can create a default appearance that can be applied to any site in the Portal instance. Customizations can include:
•Logo settings, including an image, tooltip, and link
•Header and font colors
•Company text, email address, and website link
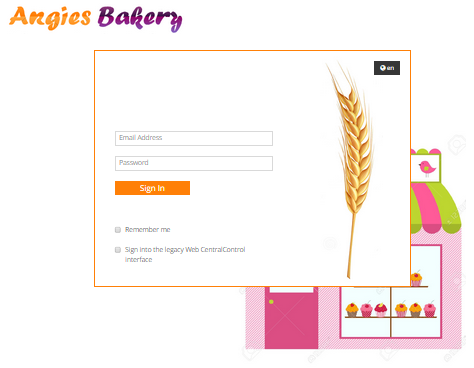
•Sign-in page appearance. As shown in the following example, the sign-in page can be completely customized. A web developer is required who can inspect the sign-in page markup and create custom CSS for the page.
The Portal appearance can also be customized for a specific site. See Customize the Portal appearance for a site.
To customize the default Portal appearance for the Portal instance:
1. When signed in as a Super user, click Global Settings on the navigation bar.
2. Click the Default Visual Customizations tab.
3. To change the logo settings, do one or more of the following in the Logo area:
•To display a different logo, click Upload Logo. In the dialog box, click the logo image file, and then click Open.
Note: The logo must not exceed 115 x 40 pixels or 1 MB in size.
•To change the logo tooltip text, enter the text in the Logo Hover Over Title box.
•To change the logo link, enter the URL in the Logo URL Link box.
•To not display a logo on the Sign In page, click Delete Logo.
4. To change the logo that appears on the Sign In page, do one of the following in the Login Page Logo area:
•To display a different logo, click Upload Logo. In the dialog box, click the logo image file, and then click Open.
Note: The logo will be resized to 100 pixels in height. The file must not exceeed 1 MB in size.
•To not display a logo on the Sign In page, click Delete Logo.
5. To change the sign-in page appearance, enter custom CSS in the Login Page Custom CSS box.
6. To change header and font colors, do one or more of the following in the Color Scheme area:
•To change the header color, click the Header Background Color box. In the color palette, click or enter the new color, and then click Save.
•To change the header text color, click the Header Font Color box. In the color palette, click or enter the new font color, and then click Save.
•To change the dialog box header color, click the Popup Header Background Color box. In the color palette, click or enter the new color, and then click Save.
•To change the dialog box header text color, click the Popup Header Font Color box. In the color palette, click or enter the new font color, and then click Save.
•To change the Support icon color, click the Support Icon Color box. In the color palette, click or enter the new color, and then click Save.
7. To change text and links, do one or more of the following in the Custom Text area:
•To change the text that appears on the Sign In page and on the web page tab, enter the new text in the Page Title box.
•To change the copyright text that appears on the Sign In page and at the bottom of each page, enter the new text in the Copyright box.
•To change the Support website link, enter the new URL in the Support URL box.
•To change the Support email address, enter the new email address in the Support Email box.
8. Click Save.